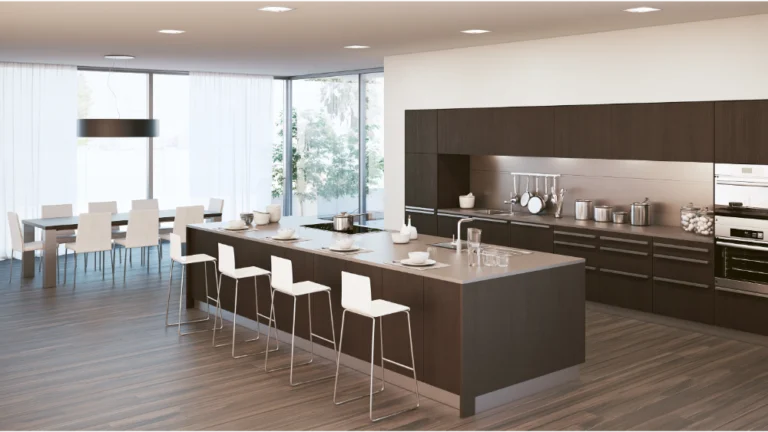
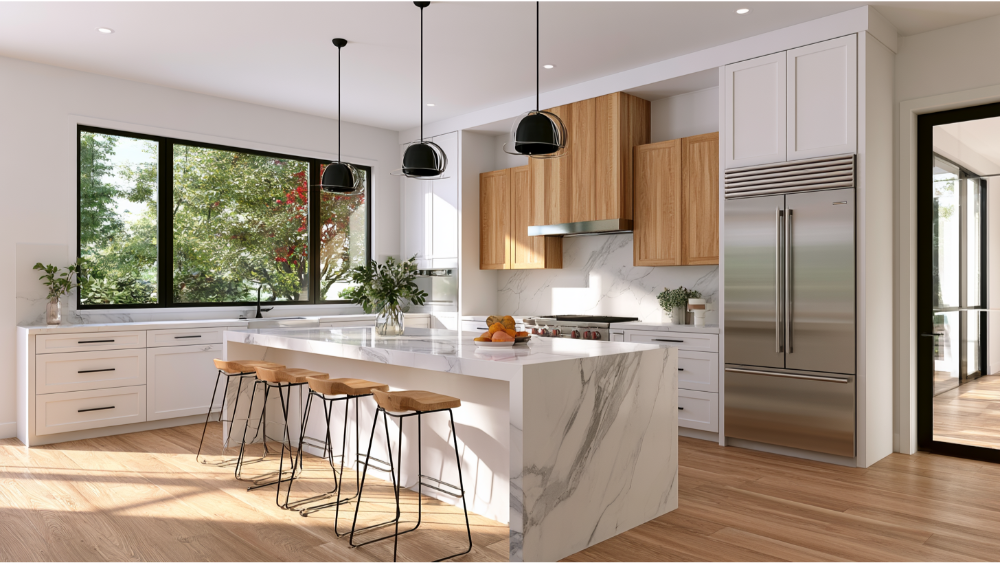
A successful kitchen remodel balances aesthetic curb appeal with long-term functionality by anchoring design choices to an efficient work triangle and clear workflow zones. The single most impactful budget and timeline decision is separating finish-level improvements (such as cabinet painting, tile backsplashes, and hardware swaps) from scope-level structural changes (including moving plumbing lines, adding dedicated electrical circuits, and venting high-CFM range hoods externally). Prioritizing high-utilization features like custom or semi-custom cabinetry with deep base drawers, durable and low-maintenance engineered quartz countertops, and layered LED lighting maximizes everyday utility and home resale value while naturally supporting multi-generational safety and accessibility.
The best kitchen remodel ideas improve both how your kitchen looks and how it works. Start with the kitchen layout, storage, lighting, and durable materials, then layer in cabinetry, surfaces, color, and the small details tailored to your space. A remodel worth doing should feel personal, run smoothly every day, and be built to last. Pretty pictures are a starting point, not a plan. This guide is written for a homeowner in research mode, someone weighing kitchen ideas before picking up the phone, and it gives you 75 ideas grouped by how remodeling decisions actually get made.
Throughout, we look at each idea through a simple lens: does it improve function, does it fit your home, and will it hold up over time? One distinction matters more than any other before you begin. Some ideas are finish-level, meaning they swap out surfaces or hardware without touching the bones of the room. Others are scope-level, meaning they affect layout, electrical, plumbing, ventilation, or permits. Knowing which is which keeps your budget honest and your timeline realistic. A good kitchen design does not chase a single trend. It balances the way you cook, the space you have, and the finishes you touch every day. Small choices in kitchen decor can make all the difference in how the finished room feels.
How to Use These 75 Kitchen Remodel Ideas
Read the list against your own routine first. Think about how you cook, where people gather, what you store, how you clean up, and how you move through the room during a busy evening. An idea that photographs beautifully can still fight the way you actually live, so anchor every choice to daily use.
Keep the finish-level versus scope-level distinction in mind as you go. A new backsplash or cabinet paint is a surface change. Moving a sink, adding an island outlet, or opening a wall touches utilities and often a permit. Sorting your favorites this way protects both cost and schedule.
As you collect ideas, drop each one into a simple bucket:
- Must-have: the change that made you want to remodel in the first place.
- Nice-to-have: worth including if the budget and layout allow.
- Future phase: good to plan around now, install later.
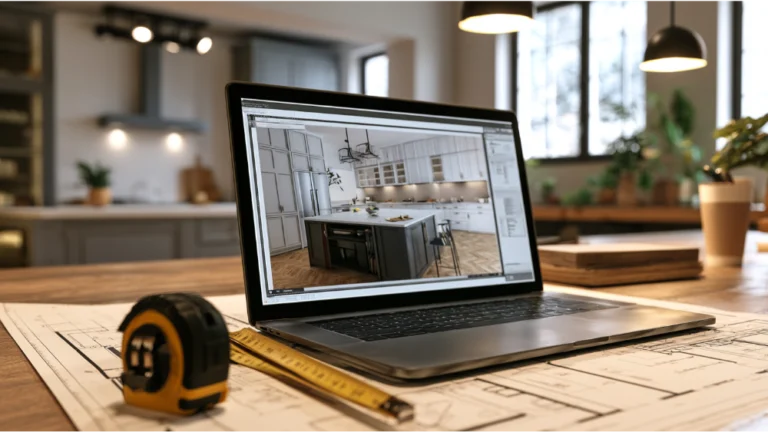
Clear planning before construction is what keeps a project on schedule. The more you decide up front, the fewer surprises land in the middle of the work. A kitchen renovation lives or dies on the decisions you make before anyone swings a hammer, so treat this list as a way to build a shortlist, not a wish you hand off blindly. Whether you are after a light refresh or a full remodel, a working plan is your best design inspiration.
Layout and Flow Ideas (Ideas 1-10)
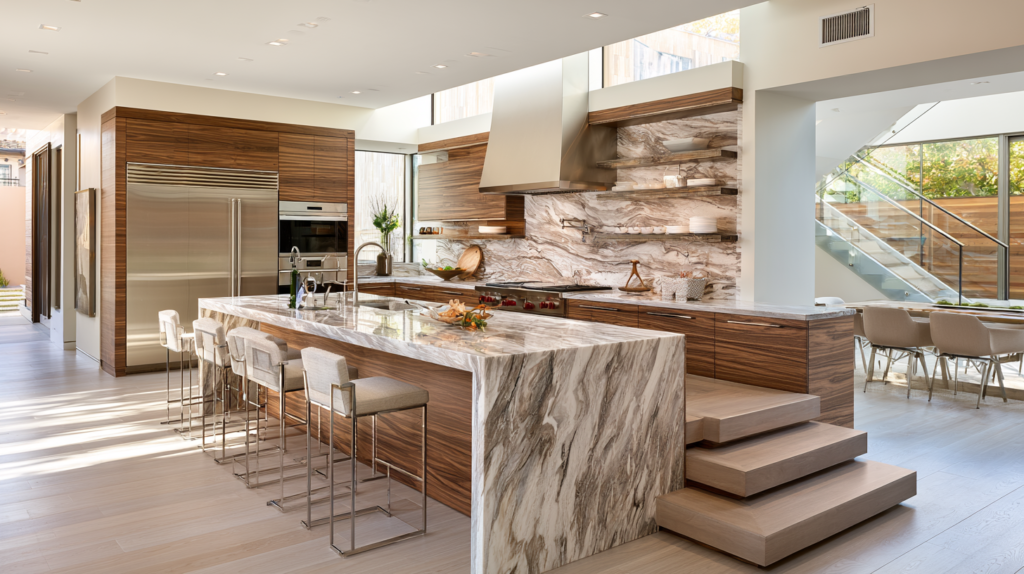
Layout is where a kitchen either earns its keep or quietly frustrates you for years. The organizing principle is the work triangle: the path between your cooking space, cleanup sink, and refrigerator. NKBA planning guidelines suggest the three legs together total no more than 26 feet, with no single leg shorter than 4 feet or longer than 9 feet, and no major traffic route cutting through the middle of it. Get this right and everything else gets easier. A smart kitchen layout is the foundation every other choice sits on.
- 1. Right-size the work triangle. Tighten or open the distances between sink, range, and fridge so prep and cleanup flow without extra steps.
- 2. Create defined work zones. Group prep, cooking, cleanup, and storage into clear stations so two people can work in the same functional space without colliding.
- 3. Add or resize a kitchen island. A kitchen island anchors an open floor plan and works as a natural room divider between kitchen and living space.
- 4. Add outlets to the island. Power at the island keeps small appliances and phones close during food prep, a small detail that changes how you use the surface.
- 5. Use a peninsula where an island won’t fit. A peninsula gives you extra counter space and seating in a footprint too tight for a freestanding kitchen island.
- 6. Consider a galley layout in narrow spaces. Two parallel runs maximize kitchen storage and counter in a tight room and keep the work triangle compact.
- 7. Design an open-but-defined kitchen. Keep sightlines open to nearby dining areas while using cabinetry or the island edge to signal where the kitchen ends.
- 8. Carve out a beverage zone. A coffee or drink station pulls morning traffic out of the main prep area.
- 9. Improve landing areas. Plan usable counter beside the range, fridge, and sink so hot pans and groceries always have a place to land.
- 10. Smooth access to dining. A clear path from the kitchen to a family room or dining zone keeps serving simple and traffic out of the cook’s way.
When you plan aisles, NKBA suggests at least 42 inches of clearance for one cook and 48 inches where more than one person cooks, with walkways of at least 36 inches. Treat these as planning targets, not code. Any idea here that moves a wall or opening shifts your project into scope-level territory and likely a permit. If you are weighing a galley layout against an island-centered plan, sketch both against your real dimensions before you fall in love with either. When kitchen and living zones merge into one great room, that path planning matters even more.
Kitchen Cabinets and Integrated Storage Ideas (Ideas 11-25)
Storage is where most homeowners feel the difference a year after the work is done. This is the largest cluster of ideas for a reason: custom kitchen cabinets tailored to your space keep counters clear and put everything within reach. In Houzz’s 2026 U.S. Kitchen Trends Study, 79% of renovating homeowners chose custom or semicustom cabinetry, and 71% chose solid wood for new or upgraded cabinet fronts. Painted finishes still led at 52%, though that share slipped as natural wood tones rose. White cabinets remain a durable choice because they brighten the room and pair with almost any counter.
- 11. Order custom kitchen cabinets tailored to your space. Built to your actual dimensions and habits, they use every inch and improve daily workflow.
- 12. Choose deep drawers over lower-door cabinets. Pots and pans slide out to you instead of hiding in the back of a base cabinet.
- 13. Add floor-to-ceiling storage. Tall cabinets reclaim the wasted space above standard uppers.
- 14. Build in a pull-out pantry. Narrow pull-outs turn a slim gap into serious built in storage.
- 15. Integrate trash and recycling. A dedicated pull-out keeps bins off the floor and out of sight.
- 16. Solve corner storage. Lazy Susans or corner drawers recover space that usually goes to waste.
- 17. Add an appliance garage. A cabinet with a lift or roll door hides the toaster and mixer while keeping them handy.
- 18. Install tray dividers. Vertical slots keep baking sheets and cutting boards upright and easy to grab.
- 19. Include spice pull-outs. A slim tower near the range keeps seasonings visible and within arm’s reach.
- 20. Fit drawer organizers. Custom inserts stop utensils and gadgets from becoming a jumble.
- 21. Plan a hidden charging drawer. An outlet inside a drawer keeps devices charged and cords off the counter.
- 22. Use open display shelves sparingly. A short run of open shelving adds warmth without turning into visual clutter.
- 23. Add glass-front accents. A few glass doors break up a wall of kitchen cabinets and show off everyday dishware.
- 24. Mix two-tone cabinet finishes. A different color on the island, or white cabinets up top with a deeper base, breaks up visual monotony and adds depth.
- 25. Improve storage near the cleanup sink. Keep dish soap, towels, and everyday plates close to where you wash and put away.
Two lower-scope notes for tighter budgets: painting existing cabinets refreshes color without a full replacement, and bamboo cabinetry is a durable, eco-friendly option worth asking about. For planning, NKBA suggests total shelf and drawer frontage around 1,400 inches for kitchens under 150 square feet, 1,700 inches for 151 to 350 square feet, and 2,000 inches for larger kitchens, with your most-used items stored 15 to 48 inches off the floor. Custom integrated storage that keeps counters clear tends to age well because it solves a problem that never goes out of style.
Countertop and Marble Backsplash Ideas (Ideas 26-36)
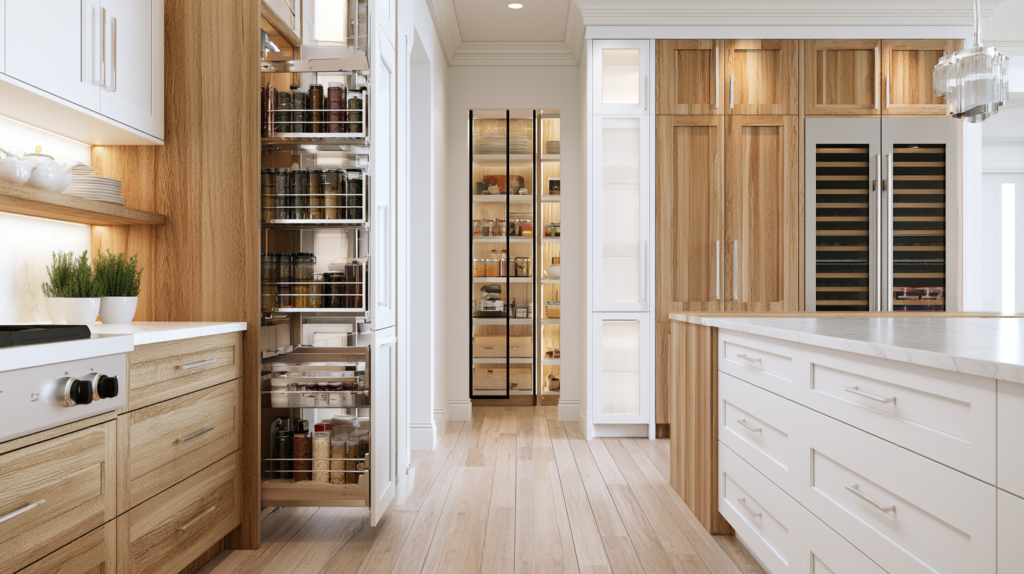
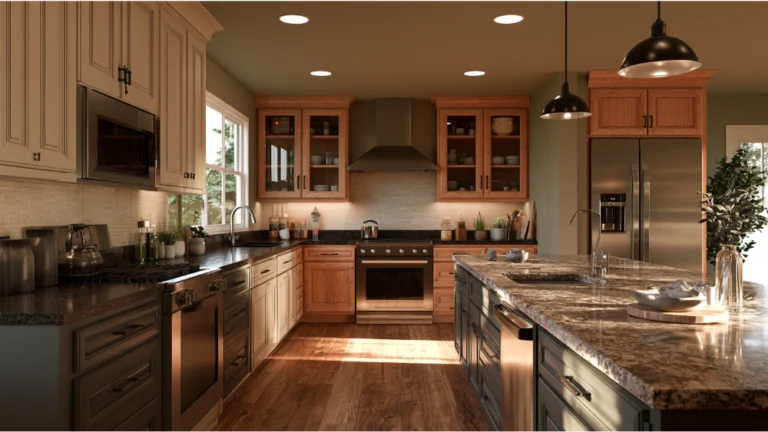
Countertops and backsplashes carry a lot of a kitchen’s personality, and they take a lot of daily abuse, so durability matters as much as looks. Houzz reports engineered quartz remains the most frequently chosen countertop material at 32%. Slab backsplashes are gaining ground: 28% of homeowners updating a backsplash chose slab, with quartz at 39% and quartzite at 33% among those. Most backsplashes, 67%, extend up to the cabinets or range hood, while 10% run all the way to the ceiling.
- 26. Choose durable quartz countertops or quartzite surfaces. Quartz countertops stand up to daily prep and clean easily, which is why they age gracefully.
- 27. Add a waterfall island edge. Where the design supports it, stone running down the kitchen island sides creates a refined focal point.
- 28. Consider marble countertops for a focal surface. Marble countertops bring natural veining and a timeless look, though they need more careful upkeep than quartz.
- 29. Install a slab or marble backsplash. A single stone slab or marble backsplash behind the range gives a clean, high-end look with fewer grout lines.
- 30. Run the backsplash full height. Carrying tile or slab up to the cabinets or hood protects the wall and reads as intentional.
- 31. Add subtle tile texture. A quiet dimensional tile, such as zellige tile, adds interest without shouting.
- 32. Try a brick backsplash. A brick backsplash or brick-look tile brings an industrial edge and warmth to a modern kitchen.
- 33. Lay tile in a rectangular pattern. Stacked or offset rectangular layouts feel current and calm.
- 34. Keep counters a warm neutral. Warm neutral surfaces, including crisp white countertops, pair with almost any cabinet color and stay easy to live with.
- 35. Contrast the island surface. A different counter material on the island makes it the focal point of the room.
- 36. Ease the edges and plan easy-clean grout. Rounded countertop edges and low-maintenance grout make cleanup faster and safer.
Natural materials like stone and wood tend to age gracefully, which is the argument for spending on surfaces you touch every day. Quartz countertops resist stains and scratches with almost no maintenance, while marble countertops reward the homeowner willing to seal and wipe them promptly. A glossy stone or a green backsplash can also reflect light and add visual appeal to a room that skews neutral. One buildability note: full slab material affects both cost and lead time, since slabs are ordered, templated, and fabricated, so factor that into your schedule.
Kitchen Lighting and Statement Lighting Ideas (Ideas 37-45)
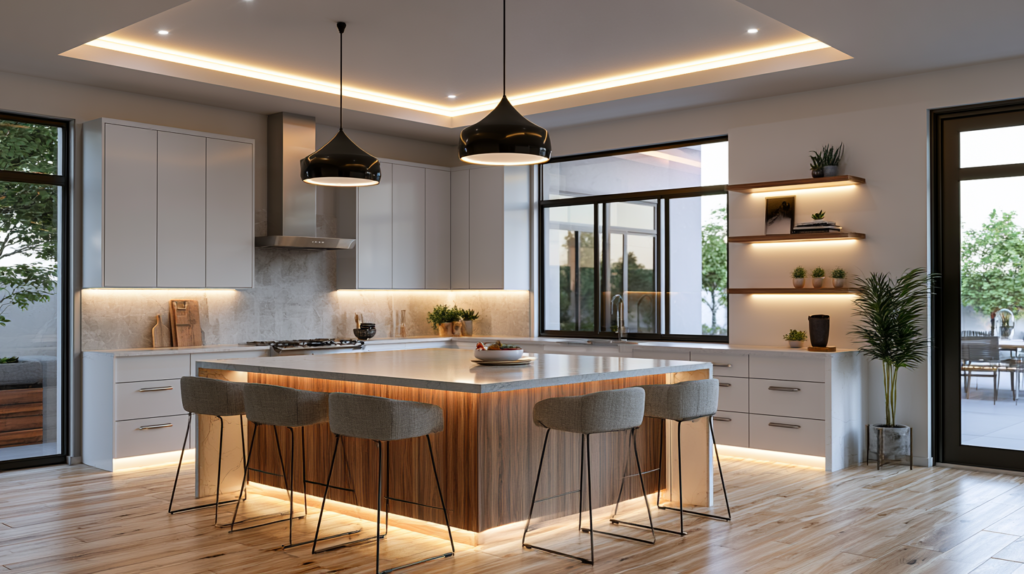
Good lighting is the upgrade people underestimate, then never stop appreciating. NKBA’s 2026 survey ranked natural light at 95%, quality lighting at 93%, and task lighting for work zones at 92% as important design considerations, with under-cabinet lighting at 82% and pendants at 63%. The goal is layers: ambient light to fill the room, task light where you work, and accent light for warmth.
- 37. Layer your lighting. Combine ambient, task, and accent sources so the room adjusts to cooking, dining, or evening quiet.
- 38. Add task lighting over prep zones. Focused light on the counter and range makes prep safer and easier on your eyes.
- 39. Install under-cabinet lighting. It erases shadows on the counter and instantly makes the kitchen feel finished.
- 40. Light cabinet interiors. Interior lights make glass-front and pantry cabinets both useful and attractive.
- 41. Hang pendant lights over the island. Pendant lights define the kitchen island and add a design moment at eye level.
- 42. Use recessed ambient lighting. Evenly spaced recessed fixtures fill the room without visual clutter.
- 43. Add statement lighting over the eat-in zone. A single statement fixture over the table anchors the dining area.
- 44. Put lights on dimmers. Dimmers let one kitchen shift from bright prep mode to a softer evening.
- 45. Bring in more natural light. Where it’s structurally practical, large windows and light-reflecting surfaces open up the room and pull in more daylight.
Pendant lights and statement lighting do double duty: they light the surface below and give a modern kitchen a focal point above the counter. A pair or trio of pendant lights over a kitchen island is one of the most reliable ways to make the room feel designed rather than assembled, and it lifts the visual impact of the whole area. Choose LED throughout. The Department of Energy notes residential LEDs use at least 75% less energy and last up to 25 times longer than incandescent, which supports both durability and lower running costs. New windows or added recessed fixtures usually mean electrical work and, in many cases, a permit, so plan those as scope-level changes.
Appliance, Sink, and Ventilation Ideas (Ideas 46-55)
Appliances and ventilation are where function and safety meet. Cooking generates moisture, odors, and indoor pollutants, and the EPA points to the range hood as the most common ventilation strategy, recommending a quiet or remote-mounted fan because people actually use a fan they don’t have to shout over. The Department of Energy suggests a kitchen range hood of at least 100 CFM. Stainless steel remains the dominant appliance color at 72% in Houzz’s data.
- 46. Plan the range hood carefully. Size and vent it to move air outside, not just recirculate it.
- 47. Choose quieter ventilation. A quiet or remote-mounted fan gets used every time you cook, which is the point.
- 48. Select an ENERGY STAR dishwasher. Certified models use about 12% less energy and 30% less water than standard units on average.
- 49. Choose stainless steel appliances for a lasting look. Clean stainless steel surfaces resist fingerprints better in newer finishes and pair with nearly any cabinet color.
- 50. Recess the refrigerator. Counter-depth or recessed refrigeration sits flush with cabinetry for a cleaner line.
- 51. Consider panel-ready or smart appliances. Cabinet panels hide the dishwasher and fridge for an integrated look, and smart appliances add connected controls for cooking and cleanup.
- 52. Plan microwave placement. A microwave drawer or built-in spot keeps the counter clear.
- 53. Upgrade to a workstation sink. A stainless steel workstation sink with built-in ledges holds cutting boards and colanders and turns the sink into a prep station.
- 54. Add a touchless or pull-down faucet. Hands-free or high-arc faucets make cleanup easier and mess less.
- 55. Look at an induction cooktop. Induction offers rapid boiling and precise temperature control with a flat, easy-clean surface, and pairs naturally with stainless steel appliances.
Stainless steel earns its popularity for a reason: it wipes clean, resists heat, and works with a modern kitchen or a warmer transitional look alike. If a wall of stainless steel appliances feels cold to you, panel-ready fronts give you the same performance behind cabinetry that matches your kitchen cabinets. There’s a safety angle here worth planning around, not fearing. The U.S. Fire Administration reports cooking is the leading cause of home fires, and unattended equipment contributes to 37% of nonconfined home cooking fire ignitions. Thoughtful landing areas beside the range, solid task lighting, and reliable ventilation all support safer cooking as part of good design.
Flooring, Wall, and Finish Ideas With Wooden Accents (Ideas 56-64)
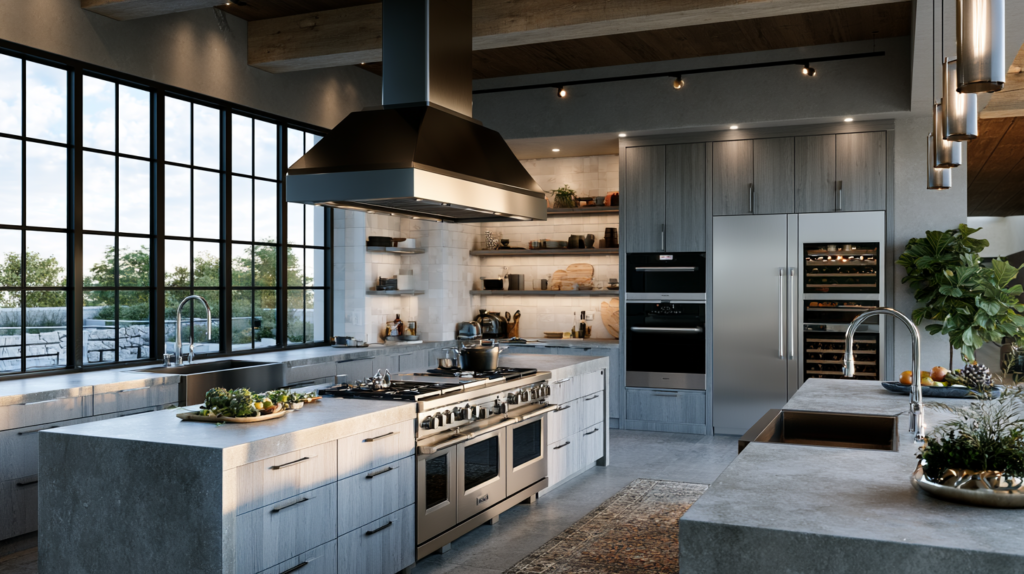
Finishes tie the room to the rest of your home. NKBA’s 2026 survey found neutrals dominate at 96%, followed by greens at 86% and blues at 78%, and named transitional, timeless design as the most popular direction at 72%. That points toward a palette you won’t tire of, warmed up with restraint. Green kitchens have become a favorite way to add color without leaving that timeless zone.
- 56. Pick durable kitchen flooring. Choose a floor that handles spills, traffic, and dropped pots without showing wear.
- 57. Consider warm wood-look materials. Wood-look tile or plank gives warmth with easier maintenance.
- 58. Use wide-plank hardwood floors. Wide hardwood floors create a seamless feel that carries an open-concept interior space together.
- 59. Keep walls a neutral palette. A calm wall color lets cabinetry and counters lead.
- 60. Add green or blue cabinet accents. Small pops of vibrant colors, or a considered mix of red and blue, enliven a neutral kitchen alongside crisp white cabinetry.
- 61. Bring in wooden accents. Open shelves, a butcher-block section, or wooden accents on the island soften a room full of stainless steel and stone.
- 62. Mix metal hardware thoughtfully. Two metal finishes, used with intent, create a curated look rather than a matched set.
- 63. Size hardware for function. Larger pulls are easier to grip and read as deliberate on big drawers.
- 64. Keep finishes cohesive. Paint and finish choices that agree with adjacent rooms make the whole home feel intentional.
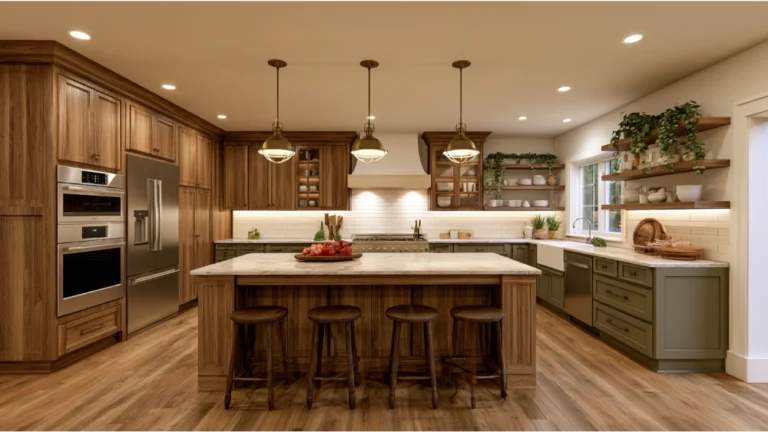
Warm minimalism is a useful frame for your design style: clean lines paired with warm colors and natural materials instead of cold grays and stark whites. Wooden accents and a brick backsplash can give a modern kitchen a contemporary twist and a little industrial edge without tipping into theme-park territory, which is one of our favorite kitchen design moves. Natural materials and a timeless palette age better than trend-chasing, which is exactly why they hold long-term value and lend a quietly luxurious look.
Small Kitchen and Space-Saving Ideas With Bar Stools (Ideas 65-70)
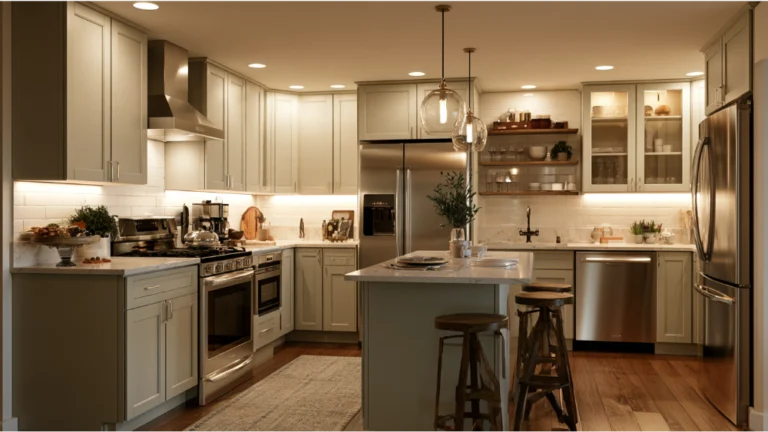
A small kitchen can work as hard as a large one when every choice pulls its weight. A galley kitchen is the classic answer, packing storage and counter into two efficient runs. From there, the moves are about openness and reach, and a lighter palette with white cabinetry makes a tight kitchen feel more open than it is. The right choices maximize efficiency without crowding the room.
- 65. Use a narrow island or movable prep table. A slim kitchen island or rolling table adds work surface you can reposition or tuck away.
- 66. Add peninsula seating. A peninsula gives you a place to eat without the footprint of a full island, and a pair of bar stools turns it into a casual eat-in spot.
- 67. Build in a tall pantry cabinet. Vertical storage keeps dry goods off the counter and out of the way.
- 68. Choose light-reflecting surfaces. Lighter finishes and reflective materials bounce natural light and make a small room feel larger.
- 69. Reduce upper cabinets where it helps. Swapping a bank of uppers for a short run of floating shelves opens up the walls, used sparingly.
- 70. Trade clutter for deep drawers. Deep drawer storage holds more and hides more than open shelving in a tight room.
Bar stools deserve a moment of their own planning. Pick a seat height that matches your counter or island overhang, and leave room to slide them under so the walkway stays clear. Two or three bar stools along a peninsula or kitchen island can replace a full dining set in a compact home and turn a working kitchen into a welcoming space for guests.
Long-Term Comfort and Accessibility Ideas (Ideas 71-75)
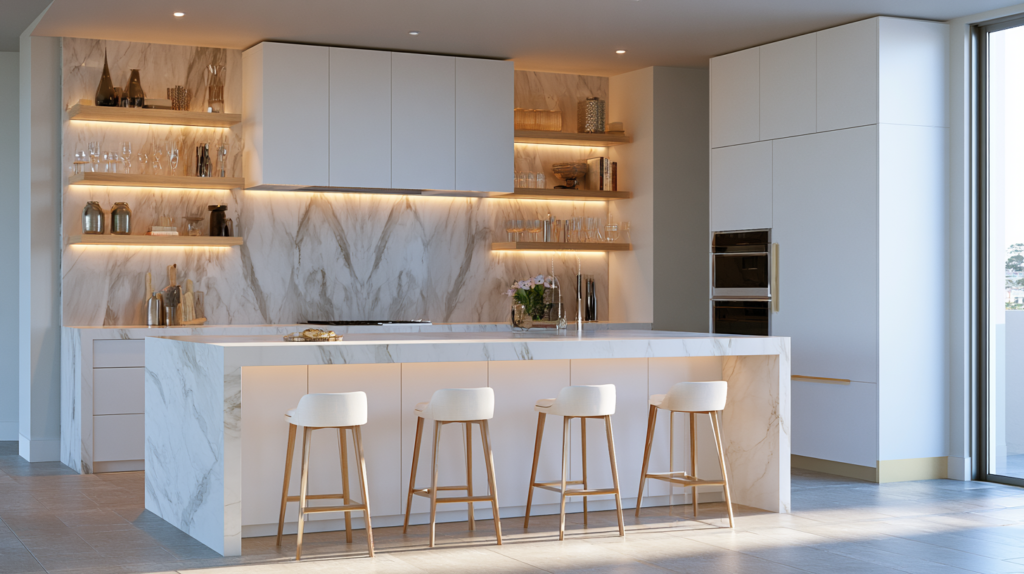
The kitchen you build should still fit you in ten years. Houzz reports 53% of renovating homeowners address special needs during a kitchen project, so planning for comfort now is common sense rather than an afterthought. These kitchen essentials keep a stylish space usable for the whole family.
- 71. Widen work aisles where space allows. Extra clearance makes the kitchen easier to share and safer to move through.
- 72. Vary counter heights. A lower section for seated prep or baking and standard height elsewhere lets people of different heights and abilities work comfortably in the same kitchen.
- 73. Choose lever handles and D-shaped pulls. Hardware you can operate with a closed fist or a forearm works for wet hands, full hands, and aging hands alike.
- 74. Keep everyday storage in the comfort zone. Pull-out shelves, deep drawers, and a wall oven mounted at chest height cut down on bending and reaching over time.
- 75. Plan slip-resistant flooring and clear task light. A matte, textured floor surface and shadow-free light over work zones prevent the small accidents that make a kitchen feel unsafe.
None of these ideas read as clinical when they’re built into the design from the start. A wider aisle just feels generous. A drawer microwave just feels convenient. That’s the point of planning for the long term now: the kitchen works better for everyone on day one and keeps working as your household changes.
Turning 75 Ideas Into One Plan
You don’t need all 75 ideas. You need the eight or ten that solve your kitchen’s real problems, sorted into must-haves, nice-to-haves, and future phases. Start with layout and flow, because everything else sits on top of it. Then lock in storage, lighting, and ventilation, the choices you feel every day. Finishes come last, and they come easier once the function is settled.
Keep the finish-level versus scope-level distinction in front of you as the shortlist takes shape. If your favorites include moving plumbing, adding circuits, opening a wall, or venting a new hood outside, your project involves permits and trade coordination, and that’s where an experienced remodeling team earns its fee. Bring your shortlist, your real dimensions, and photos of your current kitchen to that first conversation. The clearer your priorities, the more accurate your estimate and the smoother your timeline.
A kitchen remodel done well is not about squeezing in every idea. It’s about building a room that fits the way you live, holds up to the way you cook, and still looks right ten years from now.
Frequently Asked Questions
What should I decide first in a kitchen remodel?
Layout. The work triangle, aisle clearances, and where the island or peninsula sits determine everything that follows. Cabinets, counters, and lighting all get easier once the floor plan is settled, and changing your mind about layout mid-project is the most expensive kind of change order there is.
What is the difference between a finish-level and a scope-level change?
A finish-level change swaps surfaces without touching the structure of the room: new backsplash, painted cabinets, updated hardware, new lighting fixtures on existing circuits. A scope-level change affects layout, plumbing, electrical, ventilation, or walls, and usually requires permits and trade coordination. Sorting your wish list into these two buckets early is the single best way to keep your budget honest.
Do I need a permit for my kitchen remodel?
It depends on scope. Moving a sink, adding circuits, opening a wall, or venting a new range hood outside typically requires permits. Swapping a faucet, painting cabinets, or installing a new backsplash typically does not. Permit rules vary by city and county, so confirm requirements with your local building department or let your contractor handle permitting as part of the project.
How do I choose between quartz and marble countertops?
Choose quartz if you want durability with almost no maintenance. It resists stains and scratches and handles daily prep without special care. Choose marble if you love natural veining and are willing to seal the surface and wipe spills promptly. Many homeowners split the difference: quartz on the perimeter where the work happens, marble or another statement stone on the island as the focal point.
How can I make a small kitchen feel larger without moving walls?
Light-reflecting surfaces, white or light cabinetry, under-cabinet lighting, and deep drawers instead of cluttered open shelving all stretch a small footprint. A slim island or peninsula with a couple of bar stools adds work surface and seating without crowding the walkways. These are finish-level moves that change how the room feels without changing its bones.
When should I bring in a professional?
Bring in a remodeling contractor once your shortlist includes anything scope-level: moved plumbing, new circuits, structural openings, or exterior venting. Come to that first conversation with your prioritized list, your real room dimensions, and photos of the current kitchen. The clearer your priorities, the more accurate the estimate and the smoother the timeline.