Key Takeaway
A complete kitchen remodel checklist covers 25 steps across five phases: planning, design and selections, prep and permits, construction, and closeout. The construction sequence moves in a fixed order from demolition through rough-ins, inspections, drywall, cabinets, and countertops to a final punch list and move-in. Most projects run 4 to 12 weeks depending on scope and material lead times. Decisions locked before demolition are what keep schedules and budgets on track.
A kitchen remodel runs in a clear order: define your goals and scope, confirm permits and code requirements, then finalize the layout and materials before demolition. From there the build follows a set sequence, demolition, framing, rough plumbing, electrical and mechanical work, inspections, drywall, flooring, cabinets, countertops, backsplash, fixtures, and appliances, ending with a final inspection, punch list, and move-in. Most projects take somewhere between 4 and 12 weeks depending on scope and material lead times.
If you’re a homeowner in research mode who wants no surprises, this is the kitchen remodel checklist for you. Below you’ll find all 25 steps, grouped into phases, with the decisions that matter most called out plainly. The core lesson runs through every phase: decisions made before construction begins protect your schedule. At Revana Homes, we work with homeowners across the Greater Sacramento Area from concept to completion, and this is the roadmap we’d want you to have before you start a kitchen renovation.
The Complete Kitchen Remodel Checklist: 25 Steps From Planning to Move-In at a Glance
Here’s the full sequence, grouped by phase. Read it top to bottom, then dig into the sections that follow for the reasoning behind each move. This is the kitchen renovation checklist we walk clients through before any work begins.
- Planning (1-8)
- 1. Define why you are remodeling.
- 2. Separate must-haves from nice-to-haves.
- 3. Photograph, measure, and document the existing kitchen.
- 4. Decide whether the existing footprint works.
- 5. Identify layout constraints: walls, windows, plumbing, electrical, ventilation, appliance sizes.
- 6. Set financial guardrails and a budget without relying on vague allowances.
- 7. Check permit, inspection, and older-home safety requirements.
- 8. Choose the remodeling team and design process.
- Design and Selections (9-15)
- 9. Create the concept layout with a kitchen designer.
- 10. Plan appliance locations and specifications.
- 11. Plan lighting, lighting fixtures, outlets, switches, and electrical capacity.
- 12. Plan plumbing, sink, dishwasher, disposal, refrigerator line, gas lines, and ventilation.
- 13. Design cabinetry, storage, and workflow.
- 14. Select materials and finishes.
- 15. Finalize drawings, written scope, schedule, and change-order process.
- Prep and Permits (16-19)
- 16. Submit permits and order long-lead materials.
- 17. Set up your temporary kitchen and household plan.
- 18. Pack, protect, and prepare the home.
- 19. Complete the pre-demo walkthrough.
- Construction (20-24)
- 20. Demolition.
- 21. Framing or structural adjustments.
- 22. Rough plumbing, electrical, mechanical, and ventilation work.
- 23. Rough inspections, corrections, insulation, drywall, and paint prep.
- 24. Install flooring, cabinets, countertops, backsplash, fixtures, lighting, and appliances.
- Closeout (25)
- 25. Complete final inspection, punch list, cleaning, closeout documents, and move-in.
Phase 1: Planning Decisions That Protect Your Schedule
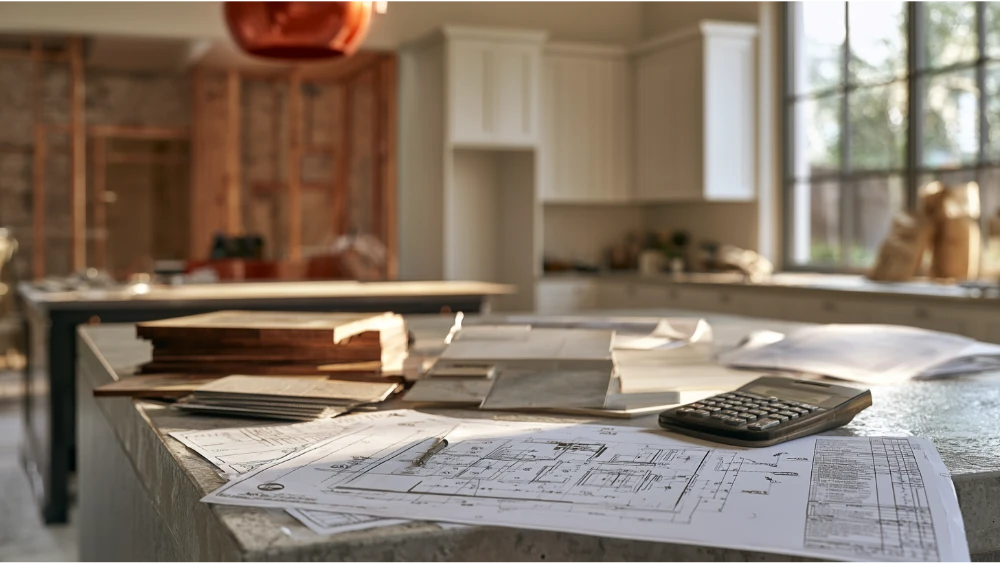
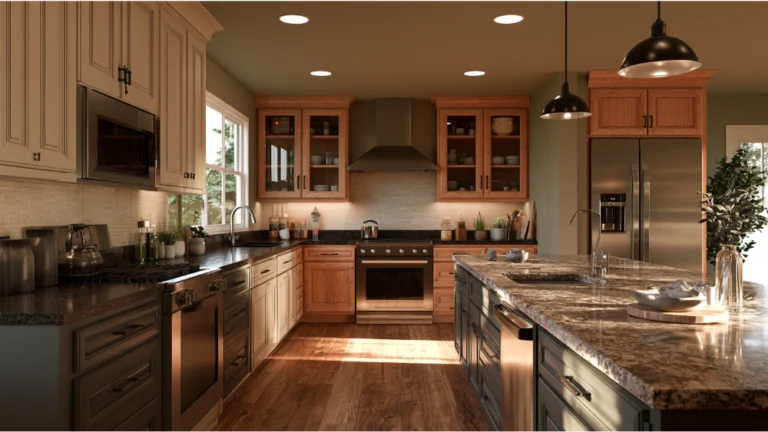
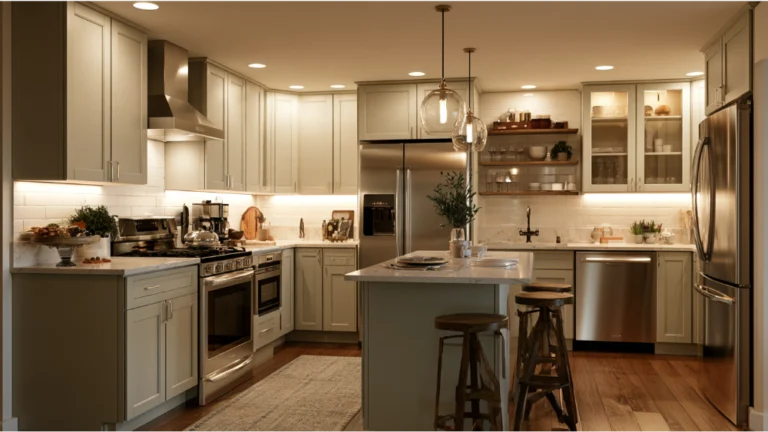
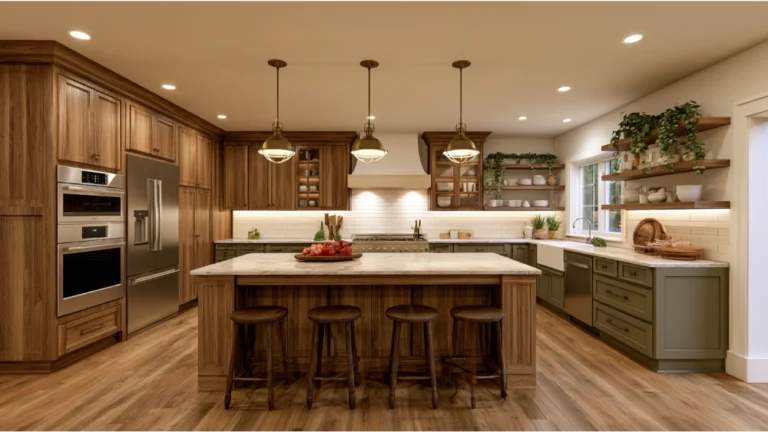
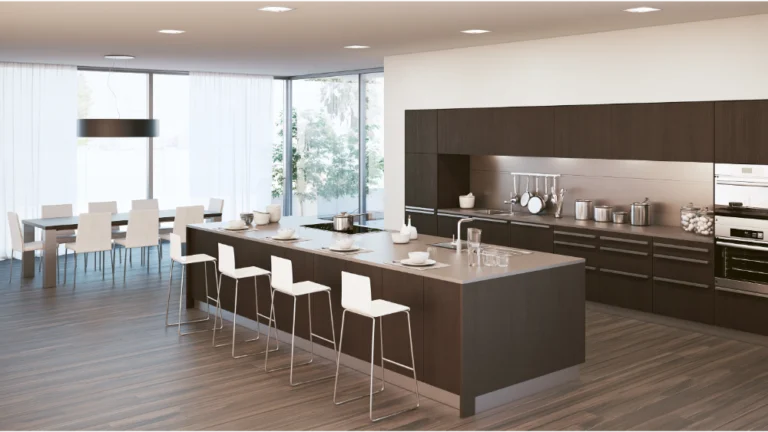
Kitchen remodels are won or lost in planning. The days you spend here, before anyone swings a hammer, are what keep the project on schedule and on budget later. Your new kitchen should reflect how you actually live, so the questions that come first are about your habits and priorities, not tile samples. This is also where you start gathering ideas, saving the cabinet layouts and finishes that speak to you so your remodel has a direction before the first decision gets made. Thoughtful planning at this stage is what keeps the entire kitchen moving predictably later.
A Cosmetic Refresh or a Full Renovation — and Separating Must-Haves From Nice-to-Haves
Start with the goal. Are you after a cosmetic refresh, new finishes on a layout that already works, or a full renovation that changes how the space functions? A cosmetic refresh might mean new cabinet fronts, countertops, and paint on a footprint that stays put. A full kitchen renovation might move the sink, take out a wall, or rework the whole flow. Write down what you need versus what you’d like. That distinction becomes your decision filter for every choice ahead. It’s common for plans to shift once the design takes shape, so around half of homeowners end up modifying their layout during the process. Knowing your must-haves keeps those changes intentional rather than reactive, and it holds scope creep in check so small tweaks don’t turn into costly mistakes.
Photograph, Measure, and Document Your Existing Kitchen
Accurate measurements prevent costly reorders. Photograph every wall, then take rough measurements of the room, the window and door openings, and the current appliance sizes. Note where plumbing, electrical, and ventilation run, and where the gas lines feed your range. This is where you decide whether the existing footprint works or whether you want to move a wall, relocate the sink, or open the space for better traffic flow and more storage. Layout constraints like a load-bearing wall or a window placement will shape what’s realistic, and it’s far cheaper to learn that on paper than after cabinets are ordered. Documenting the existing kitchen thoroughly is one of the simplest ways to avoid expensive mistakes once demolition starts. If you want to open a wall or add square footage, that structural work is decided here, not mid-build.
Set a Realistic Budget With a 10-15% Contingency
Set financial guardrails you can hold to. Build a real total budget for the work you want, then add a 10 to 15 percent contingency for the things older homes tend to reveal once walls open up. A vague allowance for “materials” invites unexpected costs. A clear budget tied to specific selections does the opposite. Sort your spending so no one category quietly swallows the rest: cabinets, countertops, appliances, flooring, lighting fixtures, and labor, so you can see where the money actually goes and adjust before anything is ordered. We believe honest pricing is a differentiator, not a baseline, so the estimate you get from us reflects the actual scope, not a low anchor that balloons later.
Sacramento & California Permit and Safety Checklist
Permits protect you, and they’re not optional for most kitchen work. The exact requirements depend on your scope and where you live, so confirm the details with your local building department before you start. For Greater Sacramento homeowners, here’s what tends to matter.
When a Kitchen Remodel Triggers a Building Permit
The City of Sacramento requires a building permit for remodeling and for work on electrical, mechanical, and plumbing systems. Non-structural kitchen remodels can often follow the City’s minor permit path, while remodels that alter structure require plan review through the City’s electronic plan check process. Starting work before a building permit is issued can trigger a penalty fee, and skipping the required permits entirely risks a stop-work order. If your home is designated historic, expect an added review form. One item people leave too late: Sacramento’s minor permit bundles include a smoke and carbon monoxide detector compliance certification. Handle it early, not at final inspection. A general contractor who works in the area regularly will know which permit path your remodel falls under and can pull it on your behalf.
California 2025 Energy Code and Kitchen Ventilation
Permit applications submitted on or after January 1, 2026 must comply with California’s 2025 Energy Code, which strengthens ventilation standards. That makes your range hood an early design decision, not an afterthought. In certain alterations, a replacement kitchen exhaust fan must meet or exceed the prior required airflow or 100 cfm, whichever is greater. Some configurations, including downdraft systems, may require 300 cfm or 5 air changes per hour. These numbers are scenario-specific, so verify the requirement for your project with your building department and your project team. Good ventilation also protects your finishes, since grease and moisture from daily cooking are hard on cabinets and paint over time.
Older Homes and Construction Debris Rules
If your home was built before 1978, the EPA’s Renovation, Repair and Painting Rule applies to paid work that disturbs painted surfaces. There’s a limited exemption for work disturbing six square feet or less inside a room, but window replacement and demolition of painted surfaces are always covered regardless of size. On the disposal side, California’s CALGreen rules require covered projects to recycle or salvage at least 65 percent of nonhazardous construction and demolition debris. In Sacramento, applications submitted after January 15, 2026 must file Waste Management Plan and Waste Log materials online through Green Halo for applicable permit types.
Phase 2: Design and Selections Before Demolition

This phase is the decision freeze. Everything, layout, appliances, cabinets, countertops, backsplash, flooring, lighting, and hardware, gets selected before demolition begins. Changing your mind after cabinets are ordered or walls are open is where budgets slip and timelines stretch. Locking selections early is the single biggest thing you can do to keep a remodel predictable, and it’s how thoughtful interior design turns into a room that actually gets built the way you pictured it.
Working With a Kitchen Designer on Your Layout and Interior Design
A good layout supports how you cook, clean, and gather. Working through the concept plan with a kitchen designer helps you catch workflow problems before they’re built in. The National Kitchen & Bath Association publishes planning guidelines that are useful reference points, though they’re design guidance rather than code. A few worth knowing: at least 24 inches of landing space on one side of the sink, at least 21 inches of standing space in front of the dishwasher, and at least 15 inches of landing space near the refrigerator and cooking areas. Numbers like these are what separate a kitchen that looks good from one that works every day. Many homeowners fall for beautiful kitchens online, and a designer is a great tool for weighing those ideas against your budget, so the choices you love are ones you can actually build.
Plan Appliances, Electrical, Plumbing, and Ventilation Early
Confirm your exact appliance specs before you order cabinets. Ordering cabinets against a guess about refrigerator or range dimensions is one of the most common causes of delay and rework, and it’s the kind of error that quietly becomes one of the more expensive mistakes in a remodel. With the main appliances locked, plan the rest of what lives behind the walls: lighting, lighting fixtures, outlets, switches, and whether your electrical panel has capacity for the new loads that modern appliances draw. Leave dedicated outlets for the small appliances and other appliances that live on your counters, from the coffee maker to the microwave. Map the plumbing for the sink, dishwasher, disposal, and refrigerator water line, plus any changes to the gas lines feeding your range or cooktop. Choosing your sink type now, whether undermount, farmhouse, or drop-in, keeps the countertop template accurate. Fix the ventilation location too, since it ties directly to the energy code requirements above. When appliances, electrical, and plumbing are settled before demolition, the rest of the build has far fewer surprises.
Choosing Custom Cabinets, Countertops, and Edge Profile Finishes
Kitchen cabinets set the character and the storage plan for the whole room. Your cabinet design covers the layout, the interior storage, and the door and drawer configuration, and details like soft close hinges make a kitchen feel finished. Whether you choose custom cabinets, painted cabinets, or stock, think through how each option fits your space and budget. Cabinet refacing is another route worth weighing when the existing boxes are sound and you mainly want a new look. Cabinet lead times often run 12 to 16 weeks, so custom cabinets and other long-lead items get ordered early, right after selections are final, ahead of cabinet installation on site. Countertops involve their own choices, countertop material and edge profile, with a template taken after the cabinets are installed. Your edge profile is a small detail that changes the whole look, from a simple eased edge to a more detailed ogee. Don’t overlook the toe kick either, since a clean finished toe kick is part of what makes cabinetry look built-in rather than dropped in. Backsplash, new flooring, hardware, and the sink and faucet round out the selections. We build with quality materials meant to last, and the finishes you choose here are what carry the design.
Your Written Agreement, Schedule, and Communication Plan
The strongest protection against a project going sideways is a clear written agreement and a communication rhythm you can count on. Underestimating scope or leaving details verbal is where expensive mistakes start. Our approach is simple: clear communication, honest pricing, and reliable execution, with any change to the plan captured in writing before it becomes real. Clear expectations on paper are what keep rushed decisions from creeping into the build.
What California Homeowners Should Confirm in Writing
California’s Contractors State License Board sets clear ground rules worth knowing before you sign anything with any general contractor.
- A written home improvement agreement is required for any project over $500, covering scope, materials, schedule, payment, permits responsibility, and warranty.
- The down payment cannot exceed $1,000 or 10 percent of the contract price, whichever is less, with no exception for special-order materials.
- Any change to price or scope must go through a signed written change order before the work happens. This is your no-surprises safeguard.
- CSLB recommends getting at least three written bids compared on identical plans and scope, and warns against jumping at a bid that’s substantially lower, since it may omit work.
- Verify the license status directly, and ask for insurance information before work begins.
When the scope, schedule, payment points, and decision deadlines all live in writing, everyone stays aligned. That’s how a project holds its timeline, and it’s how you avoid the costly mistakes that come from assumptions no one wrote down.
Phase 3: Preparing Your Home Before Demolition Begins
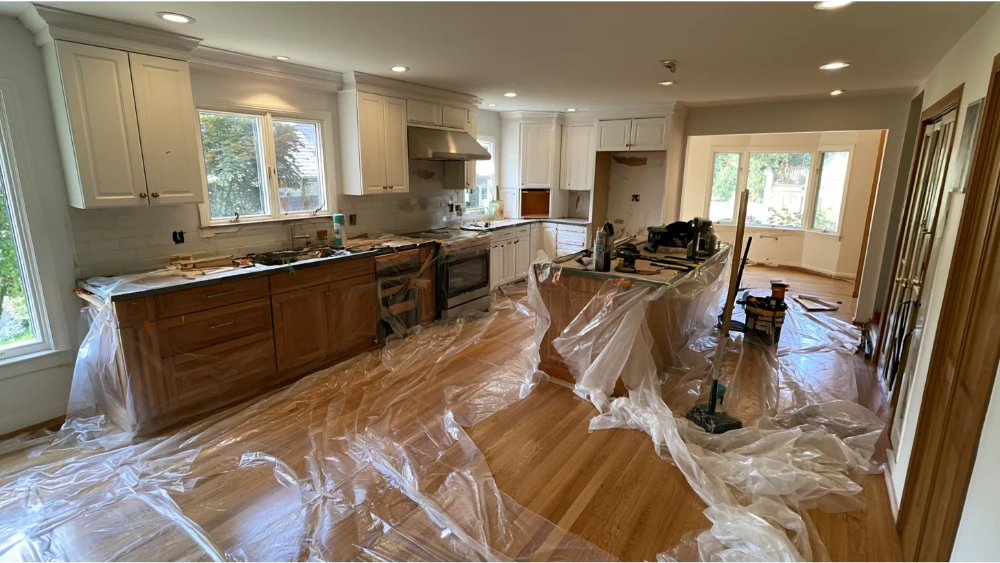
The weeks your kitchen is out of commission are easier when you plan for them. A little setup here keeps daily life running and gives the crew clean access to work.
Setting Up a Temporary Kitchen
A temporary kitchen is essential, and failing to plan for one is what turns a remodel into a daily frustration. Relocate a few basics to another room: a mini fridge, a microwave, a kettle, and a portable burner will cover most cooking for the duration. Set it up somewhere with an outlet and a little counter space, keep your cleaning supplies handy for quick tidy-ups, and plan for utility interruptions when water or power gets shut off for a day. Keep a small bin of frequently used dishes and utensils within reach so you’re not digging through packed boxes. Knowing where you’ll make coffee tomorrow morning matters more than you’d expect.
Pack, Protect, and Clear the Path
Pack and label everything from the kitchen so nothing gets lost or damaged. Disconnect all appliances before work starts. Expect the crew to set dust barriers and floor protection along the work path, and clear those paths so installers can move materials in and out. Plan for pets and children to stay clear of the work zone, know where your water, gas, and electrical shutoffs are, and decide what you’re salvaging, donating, or sending to the waste plan. Sort out parking and access, then do a pre-demo walkthrough with your team so expectations for daily communication are set before day one.
Phase 4: The Kitchen Remodel Construction Sequence
Once demolition starts, the build follows an order for a reason. Each phase depends on the one before it, and doing things out of sequence means tearing out finished work. A full remodel typically runs 6 to 12 weeks, and staying on schedule comes down to holding that sequence.
Demolition Begins — Removing the Old Kitchen
Demolition means removing the old cabinets, countertops, flooring, and anything else coming out. Where materials can be salvaged or donated, that feeds your waste diversion plan. This phase moves fast, but it’s also where hidden conditions surface across the house, old wiring, plumbing surprises, corroded gas lines, and that budget contingency you set earlier now earns its keep.
Framing, Rough-Ins, and the Inspection You Can’t Skip
Next comes any framing or structural adjustment, followed by the rough-in work: plumbing, electrical, mechanical, and ventilation lines run through open walls. If your design added circuits for new appliances or moved a sink, this is where those changes take physical form. Then the step you cannot skip. Rough framing, plumbing, and electrical get inspected before anything closes up the walls. Covering that work before it passes inspection means opening it back up later, which is one of the more avoidable expensive mistakes a remodel can produce. Once inspections pass, insulation and drywall go in.
Drywall, Flooring, Cabinet Installation, and Finishes
Drywall goes up and walls get painted, or at least primed, before cabinets block access. Flooring typically goes in before cabinets in many kitchens, which gives a continuous surface and simplifies future appliance changes, though the right order depends on your flooring type and your team’s approach. Then the new cabinets are installed and leveled, countertops are templated and fabricated to your chosen edge profile, and the backsplash tile goes up. Fixtures, lighting fixtures, and appliances follow, and the phase closes with touch-ups. This is where the attention to detail shows, in aligned cabinet doors, soft close hinges that catch just right, clean grout lines, and finishes that sit exactly where they should.
Phase 5: Final Walkthrough, Punch List, and Move-In
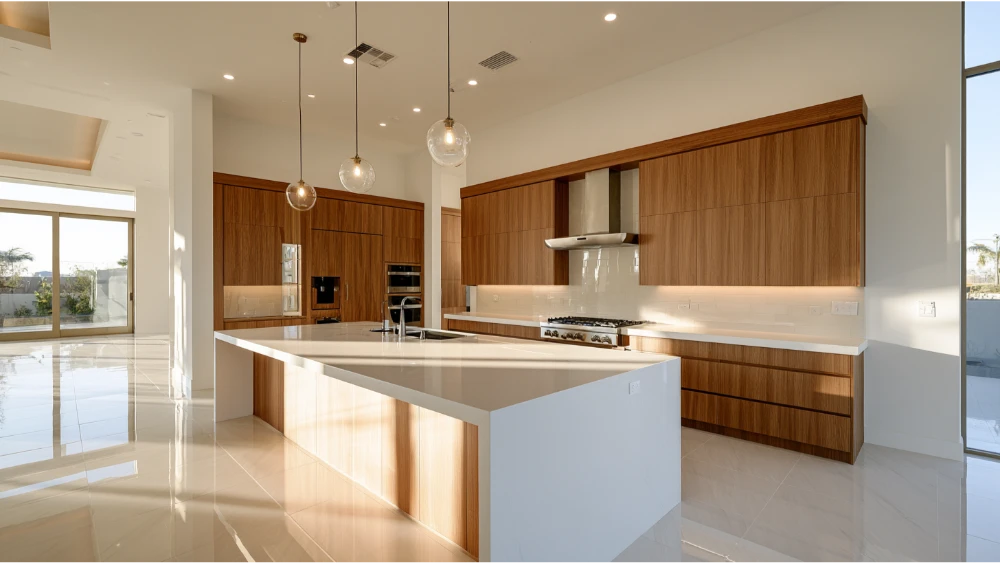
The last phase turns a finished-looking kitchen into a truly finished one. Walk the entire project with your team and check the details that are easy to overlook when you’re excited to move back in.
Test cabinet doors and drawers for smooth operation and alignment. Check that soft close hinges seat properly, then look over countertop seams and caulking, tile and grout, and any paint touch-ups. Confirm every outlet and switch works, run each appliance through a cycle, and test the range hood ventilation while something is cooking. Look for plumbing leaks under the sink and around the dishwasher, and check the gas lines connection at the range for a clean, tight fit. Where a permit was pulled, make sure the final inspection is signed off. Then collect your closeout packet: appliance manuals, warranties, a finish and paint reference list, and care instructions for your countertops and kitchen cabinets. With the punch list complete and the space cleaned, you’re ready to unpack and move back in.
When to Call Revana Homes
A remodel this involved goes better with a team that treats your schedule, your budget, and your vision with equal care. If you’re planning a kitchen renovation anywhere in Sacramento or the surrounding communities, from Folsom and Roseville to Elk Grove and El Dorado Hills, we’d welcome the conversation. Whether you want a full concept-to-completion partner or a general contractor to guide the build, the first step is low-risk on purpose.
Request your free, no-obligation estimate, or call us at (916) 205-5112. It’s the beginning of a collaboration about your new kitchen, not a sales pitch. Our team is ready to bring your vision to life, from concept to completion.